How to Add User in WordPress?
How to Add User in WordPress?
Do you want to Add User in WordPress? First of all, we should know about the different types of users in WordPress and their roles.

Types of Users in WordPress
Basically, WordPress supports 5types of Users for a WordPress website. Namely,
- Subscriber
- Contributor
- Author
- Editor and
- Administrator
Roles of WordPress Users
Now let us discuss the roles play by different users in a WordPress Website
Role of a Subscriber in WordPress
Subscriber is the basic role of User in WordPress. A user with role of subscriber, can read, Like, Share and Comment on posts and pages of Your WordPress Website.
Role of a Contributor in WordPress
Now, the role of contributor in a WordPress website is more than the role of a Subscriber. As a Subscriber in WordPress, he can only read and Comment on Posts and pages. Whereas a Contributor, can Write and Edit his posts in WordPress but he can’t publish them.
Yes, Contributor can Write his own Posts but the administrator only can publish his posts.
Role of Author in WordPress
Now, Author has all access to his posts and Pages. Yes, Author can even publish his posts and pages.
In WordPress, Author can write posts, and pages, he can Upload Photos and he can also publish and Edit his posts only.
Role of Editor in WordPress
Here comes Editor, An editor has access to all the posts and pages of the WordPress website. He can Edit anyone’s posts and pages.
Editor is the superior post next to Administrator in the WordPress.
Role of Administrator in WordPress
Now, the administrator in WordPress. He has full power of the WordPress website. He can do all the jobs of Editor and besides Editor role he can invite people to the website. He can modify settings of the WordPress Website.
Administrator can change themes as well as plugins. He can do anything in a WordPress website.
How to Add New User in WordPress without Plugin
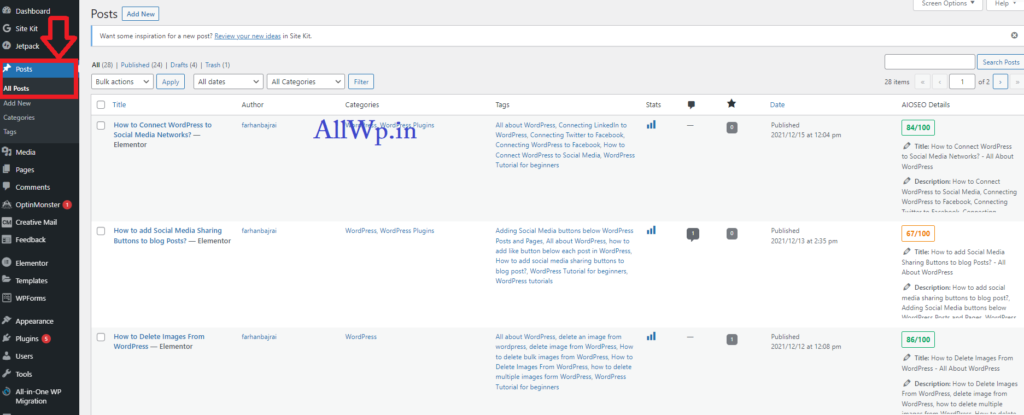
Now to Add a new user to your WordPress website. You have to go to the WordPress Admin Dashboard. Then go to Users >> Add New.
Now you have to fill the form with the Users details. You have to fill the following details of a user.
First, You have to write the User name and then you have to write his Email address in the email text box. Then you have to write his First Name and last name.
After this you have to give his website URL, if he has a website. Then you have to set a password for this user. You can also generate a Strong password by clicking generate password.
Note: User Name and Email Address is mandatory. You have to fill them.
If you want to inform user regarding his account, then you check the check box which displays “Send the new user an email about their account“.
The next drop-down is very important. Be cautious when assigning role to a user. As described above, details regarding roles. Select the appropriate role for the user and then click Add New User button.
Hurray,! You have successfully added new user to your WordPress website without Plugin.
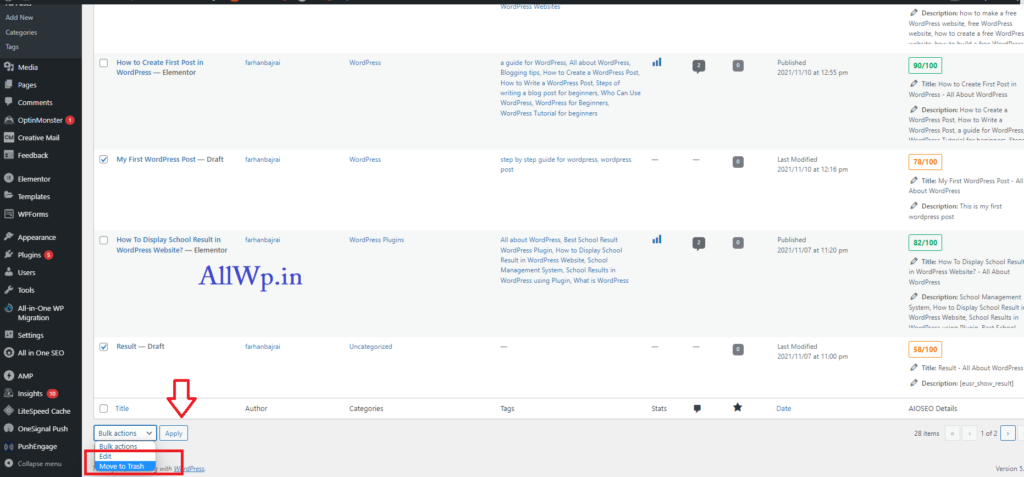
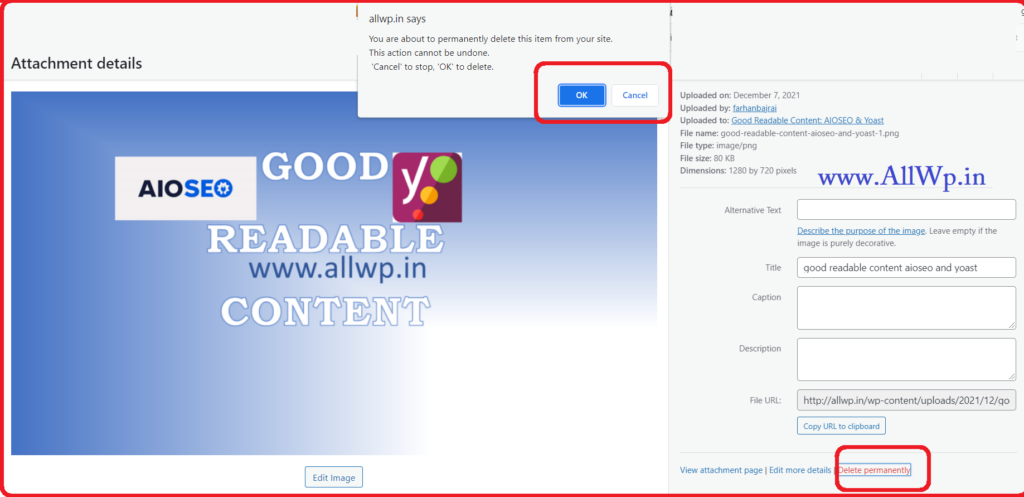
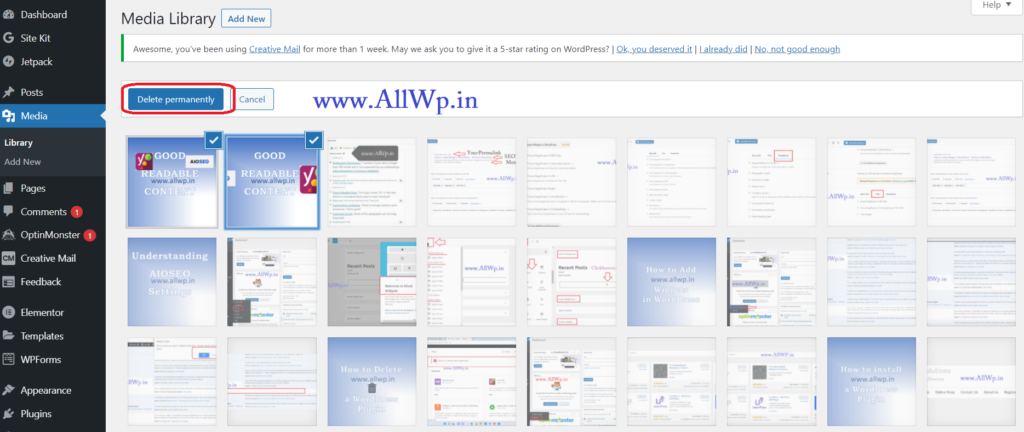
You can Edit, Delete and delete the Users any time. We will discuss it in our other posts.
If this article is useful for you then do Like and Share it. If you have any suggestions please do comment on the Post. So that we can improve our quality.
Suggested Reading: A Guide to Adding, Editing, & Deleting WordPress Authors