Do you want to start a WordPress blog easily?
I know starting a blog can be a headache for most beginners who do not know coding. And you are not alone in getting headaches in this.
As a Web Designer and Digital Marketer, I have helped hundreds of students set up a WordPress blog.
The process of starting a blog is easy whether you are a student of age 15 years or you are a retired person of the age 60 or more.
What do you Need to Start a Blog?
Now the question is what do you need to start a blog? The answer is
- A Web Hosting (Hostinger, Bluehost, Siteground etc)
- A Domain name ( Name of your website)
- 25 Minutes of Your Focus
Yes, you read it right. You have to focus 25 minutes on setting up your first blog, and your blog will be ready.
In this Tutorial, I’ll cover the following topics
- How to Choose the Best Web Hosting
- How to Register a Free Domain
- How to Install WordPress
- How to Design Your WordPress Blog
- How to Add Functionalities to Your Blog through Plugins
- How to Write Your First Blog Post
- How to Add a Contact Form
- How to Optimize Your Website for SEO
- Resources to Learn and Master WordPress
Are you Ready? Let’s Go
Step 1: How to Choose the Best Web Hosting
The first and foremost step of starting your WordPress blog is having the best Web Hosting for WordPress. A good SEO-Friendly Hosting Service is of utmost importance for a blogger to start a blog. Many beginners make mistakes while selecting a Web Hosting for their blog. It is because of advertisements they saw, or because of the budget they have.
But, believe me! this will be your biggest mistake if you have selected the Wrong Web hosting. So, select a good, reputable, secure, affordable Hosting for starting your blog.
Personally, I have been using WordPress since 2013 and used a handful of Web hosting. Some charge more, and on the other hand, some do not have good support and service.
After thorough research and experience, I Believe Hostinger is one of the Best WordPress Hosting. It is affordable, secure and has good 24/7 support. There are other options too like Bluehost and Siteground. But my vote of trust is with Hostinger as I have been using it for years.
There are many WordPress Optimized Hosting Plans in Hostinger and they are at affordable cost. You can go for the Premium WordPress Hosting Plan that says Rs. 149 per month. Read the Features it will help you understand the plan.
Click on the Add to Cart Button. Now you are at the billing area, here select the period. For Beginners, 12 months are best, and if you have a long-term plan then go for 4 years.
Sign in and complete the billing.
Step 2: How to Register a Free Domain
Now, after successfully purchasing the Hosting you want to add Your Domain name to Your web hosting. While reading Hosting Features, you might read that the Hostinger Premium plan comes up with a FREE Domain.
Now we have to claim this Free Domain from Hostnger. After the payment has been completed. Hostinger will ask you a set of questions to install WordPress on your Hosting. While answering those questions, Hostinger will ask you to install WordPress on the Website. There Hostinger will give you the option of Claim Domain.
Remember! Choose a good readable domain with the keyword. Here are the tips for a good domain name
Step 3: How to Install WordPress
As you are claiming your Free Domain on Hostinger, in the process you have installed WordPress on your Blog. Here is the complete step-by-step guide to installing WordPress on Hostinger
Step 4: How to Design Your WordPress Blog
Now after successfully installing WordPress on your blog. Now, you have to design Your WordPress blog. A simple, and good look is necessary for a blog to get success.
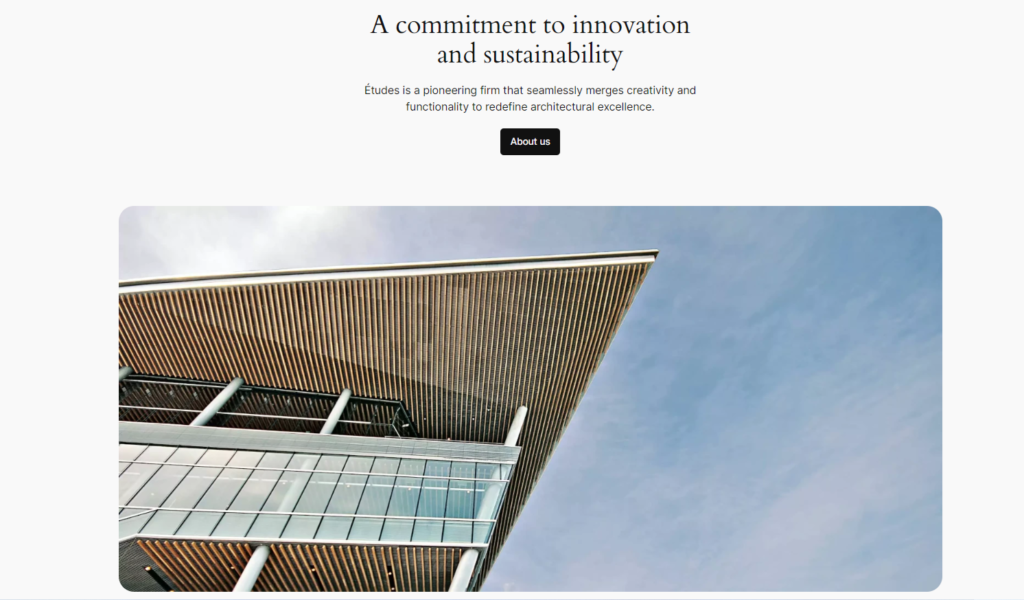
When you first visit your WordPress blog, it will somewhat look like this
Now, when you are using Hostinger Hosting for your WordPress blog, then Hostinger preinstalled a plugin with the name Hostinger, on your blog. This Plugin helps you set up most of the basic things like adding a logo, site title, description, connecting domain name etc. This plugin is good for beginners to do a handful of tasks. I have written detailed info about the Hostinger WordPress Plugin.
Now, come back to the topic. To have a good design of your WordPress blog you need to install good themes. WordPress comes up with thousands of Free Themes (more than 6000) and Premium Themes. Head towards Dashboard >> Appearance>> Themes and Click Add New Theme. You can sort themes based on Popular, Featured, and New and select the theme that suits your blog well.

You should see ratings and reviews before installing the plugin. Likewise, you have to Preview the theme before installing and activating. I have written an in-detail article on how to add a Theme in WordPress. It might help you in installing the theme.
After installing the theme you have to customize it from the Appearance only and add logos, typography, color scheme etc. Spent some time on customization and you will learn many things.
How to Add Functionalities to Your Blog through Plugins?
Now after successfully installing the theme on Your WordPress blog. Now it’s time to add some functionalities to your blog using Plugins. Plugins are software that adds functionalities to Your WordPress blog. To install a Plugin in your WordPress blog, go to the Plugin section from WordPress Dashboard, and click on Add new Plugin.
I have written an in-detail article on how to install a plugin in WordPress. Now the question is which plugins do you require for your blog to run?
If you are running a basic WordPress blog then you need to have these plugins
- Akismet anti-spam plugin
- SEO Plugin (Yoast/AIOSEO/Rank Math)
- Elementor (Page Builder)
- Site Kit By Google
- WpForms Lite
All these are Free Plugins and they can add special functionalities to your Website. For example, Akismet will prevent spam comments, whereas Site Kit will add your website to Google Search Console and Google Analytics. On the other hand, Elementor is a page builder. SEO plugins will be discussed below on the topic of how to optimize your website for SEO.
You can read Neil Patel’s article on 10 best Free Plugins that every website need
How to Write Your First Blog Post
Now after doing work in the dashboard here comes your first step of writing a Blog post.
Writing Blog posts in WordPress is very easy. In the WordPress Dashboard, click on the + New button and select Post from it. Now you are there to Write your First ever WordPress Blog post.
On the top, you have to Write the Title of your post and in the body, you can write the content of your post. WordPress is a block Editor by clicking the + button on the top left corner you can add different blocks to your post like paragraphs, headings, lists, Images, Videos etc. I have written a detailed article on how to write your First WordPress Blog Post where I have discussed the options of adding images, and video in detail.
How to Add a Contact Form in a WordPress Blog?
Now, if you are running a website or blog, you need a contact form, so that people will contact you through it. To create a Contact Form on WordPress, there are many plugins one of them is WPForms lite. This plugin will easily help you create a simple contact form in your WordPress blog.
After installing and activating the plugin go to Add New and Create a New Form. By default, WPforms have some template. In our case for the time being we use the template “Simple Contact Form“. Click on “Use Template” and it will take you to the template part. There save the template and close the form.

You will get a shortcode of the form you created. Just you have to go to Your Blog Contact Page and paste that Shortcode and the form will be live. You can read in detail article about how to create a Form in WPForms
So, you have created your Contact page for your blog.
How to Optimize Your Website for SEO
Now one of the most important things is to Optimize your website for SEO. You are creating your blog to share your learning and to earn. Then to reach more an d more people your blog should be discovered by search engines and users can come to your blog from Google, Bing etc. For this, you have to optimize your blog to reach more and more audiences. This can be achieved by optimizing your website.
SEO consists of keyword research, On-Page SEO, Technical SEO and Off-Page SEO. To achieve On-Page SEO success you can install one of the SEO Plugins like Yoast, AIO SEO, and Rank Math.
Install the plugin and start optimizing your posts On-Page SEO with their help.
Resources to Learn and Master WordPress
Now, in the end, Blogging is a long-term journey, and you need to be updated and learn new things to implement on your WordPress blog. So, for this journey, you need to have access to authorised Content. As far as resources are concerned to master WordPress here is a list
- AllWP.in
- WpBeginner
- WpEngine
- Videos (Digital Farhan Bajrai)
These are some of the resources from where you can learn Blogging.
I hope this guide on setting up a WordPress blog was useful to you.
For more WordPress video lessons, please subscribe to our YouTube channel if you enjoyed this article. Additionally, you may find us on Facebook and Twitter.