Do you want to install a WordPress Theme in Your Website?
After successfully installation of WordPress on Your Hosting. Now, you have to Change the look and fill of Your WordPress website. To achieve this, you have to install theme in your WordPress website and Customize it.
In this article you will learn step-by-step procedure to install a WordPress Theme. Let’s go and install it.
Steps to install a WordPress theme
Below are the steps to install a theme in WordPress
Step 1: Log in to WordPress Dashboard
Step 2: Select the Theme
Step 3: Install & Activate Theme
Step 4: Customize Your Website
Step 5: Customizing Site Identity
Let’s dig deep into the topic.
Step 1: Log in to WordPress
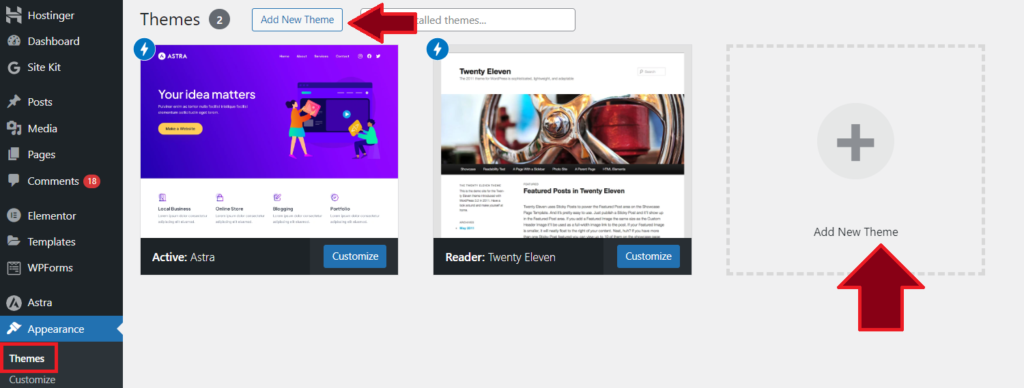
First login to your WordPress Admin Panel, then look go to Appearance >> Themes, it will be there just at the end of your screen on the left-hand side as shown in the figure. Click on Themes in Appearance. Then You will be redirected to the Theme sections in the dashboard (as shown in the figure below).
Step 2: Select the Theme
Now the next step is selecting a Theme for your blog or website. For this click on the “Add New Theme” button as shown in the above figure, and you will see thousands of Themes for your Blogging/Website need.
You can sort the themes based on the following critereas
- Popular
- Latest
- Block Themes
- Favorites
- AMP Compatible (if you installed AMP plugin)

Before installing any theme click on the Preview Button, to preview how your website looks, when you installed the theme. If the look, typography suits your website/blog taste then installed it.
When you click on the Preview button, then WordPress will redirect you to the preview mode, where you can see a simple preview of your website if you installed the selected theme.
Step 3: Install & Activate Theme
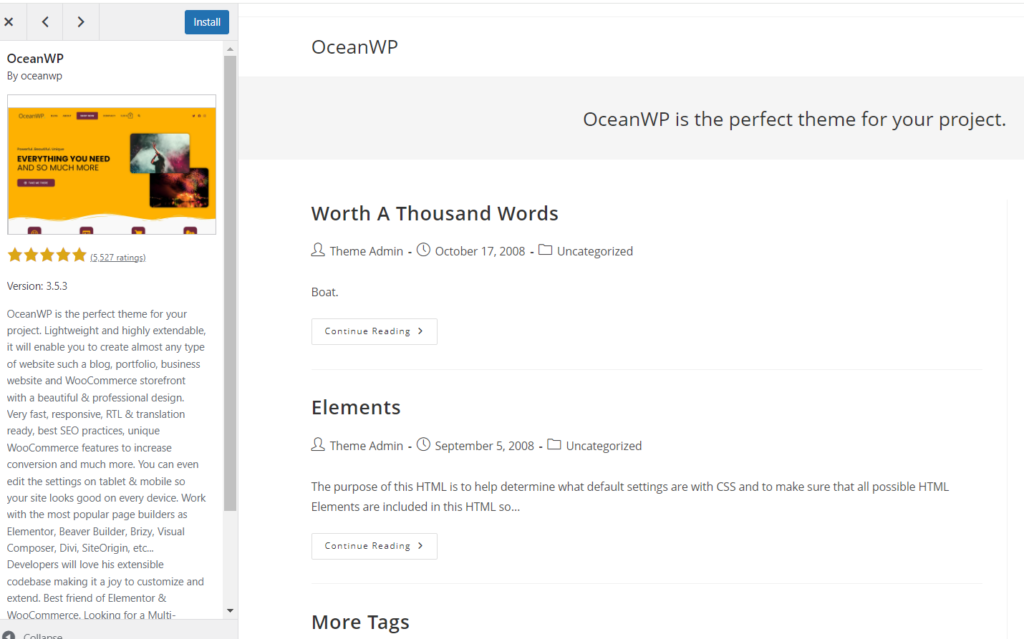
Now, if you want to install the theme then, Click on install button. Now, you have succesfully downloaded the Theme on your web server. You have to “Activate” the Theme to use it as a Theme on your WordPress website.
Before activating, you can check for Live Demo of the Theme. In this case, I Checked the Live Demo of OceanWP theme, and it looks good for my WordPress blog. So, I clicked “Activate & Publish” button.
You might thing that the sidebar on the left-hand side is not looking great. But we can customize it in our next step.
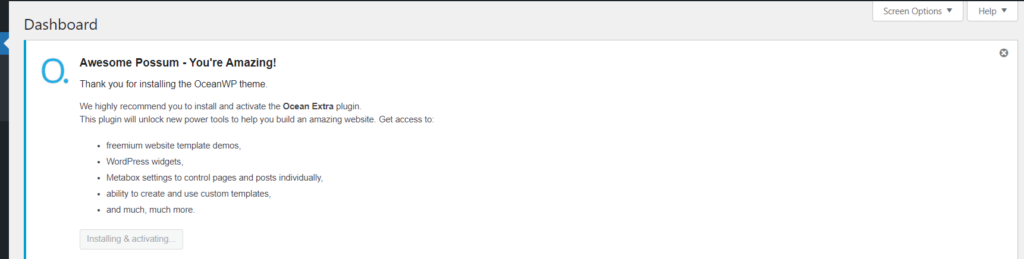
Note: Some Themes comes up with required plugins. In our case OceanWP need Ocean Extra plugin to be installed for smooth working of the theme. So, you should install and activate the plugin as shown below
Step 4: Customize Your Website
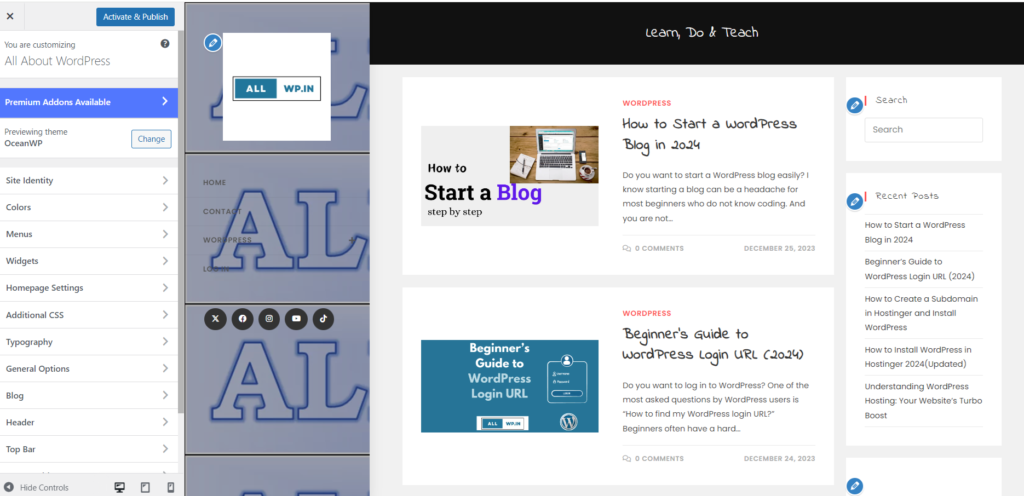
Now after installing the Theme in WordPress You have to Customize the theme and make it as per your Blog/Website Taste. Some of the things which you can customize are written below. But this section is worth of giving time and noticing the changes occured when you change something.
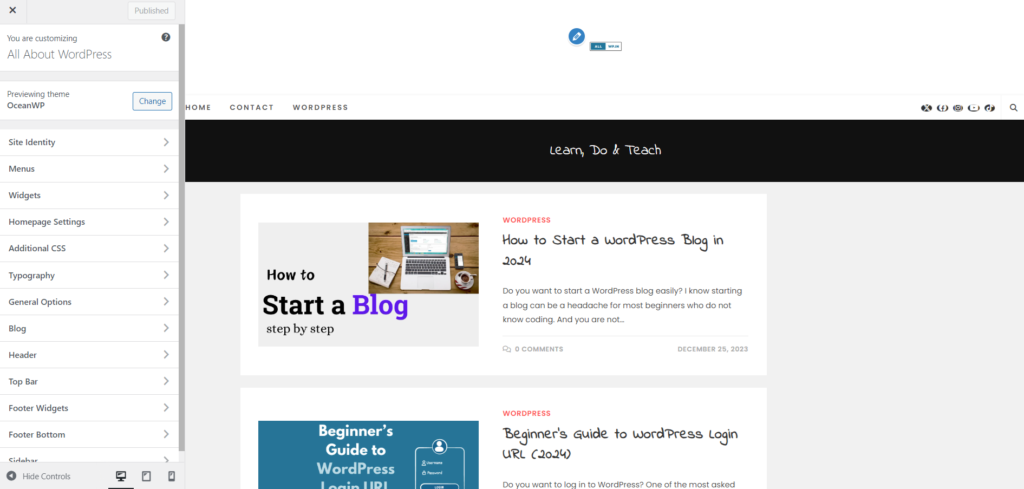
Don't Worry ! Unless and Until you click on Publish button, changes not occured.
- Site Identity
- Menus
- Widgets
- Homepage Settings
- Typography
- Blog
- Header
- Footer Widgets etc
Note: The pencil marks in the above image while customizing the Theme, means you can edit that section. Just click and see what happens there.
Meanwhile, you just go around and start writing posts in Your free WordPress blog.
If you find this article helpful, do share it with your friends. If you have any suggestion or feedbacks do comment, so that we will improve it.