
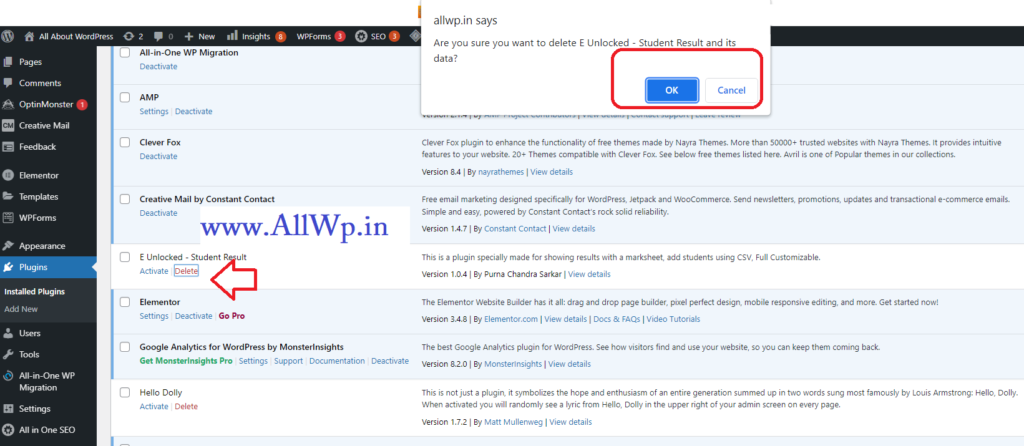
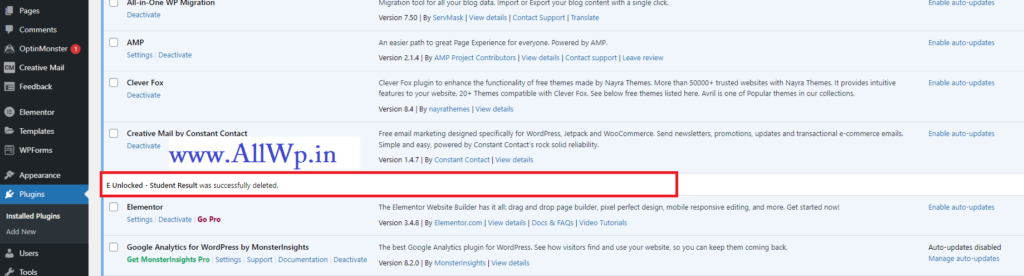
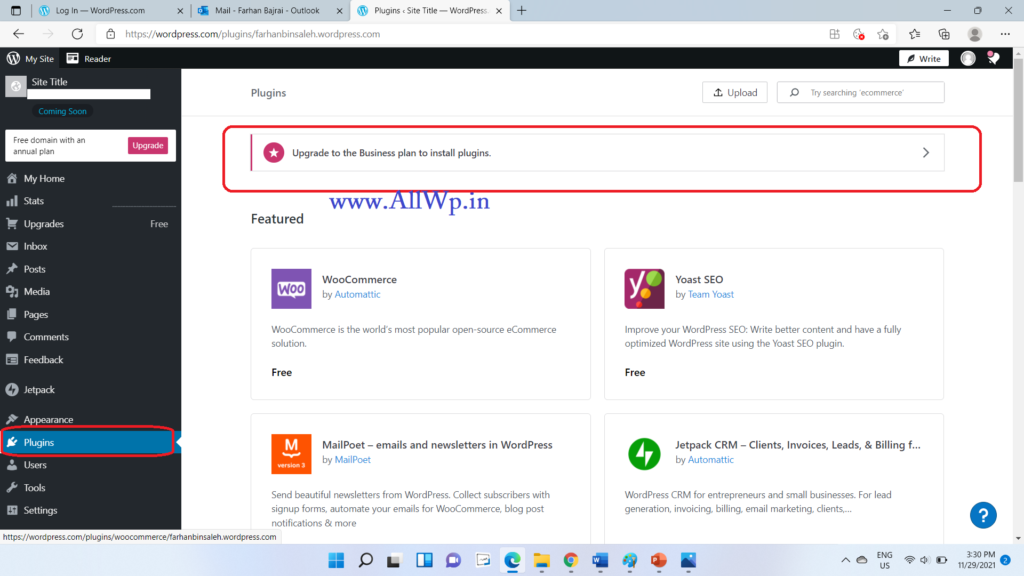
How to Uninstall Plugin in WordPress


Farhan Bajrai is an Entrepreneur, Web Designer as well as a Teacher. He resides in Hyderabad. He is the Founder, Designer, and Director of Bajrai Online Solutions.