For more information about WordPress Themes, WordPress Plugins and all about WordPress kindly follow us.

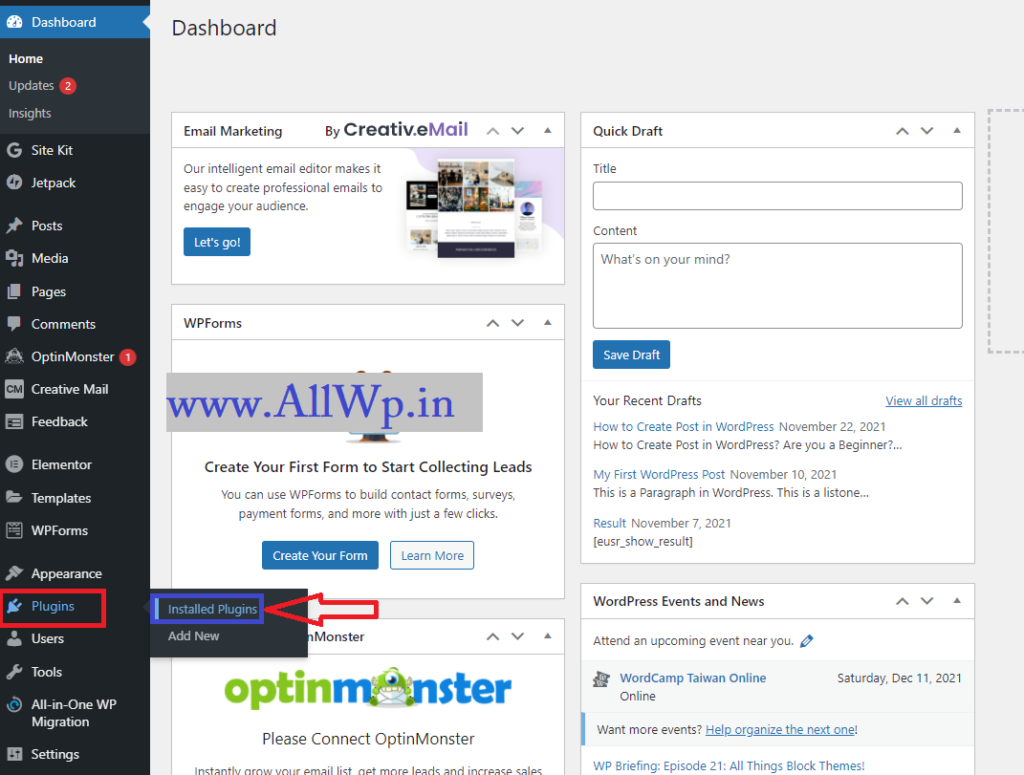
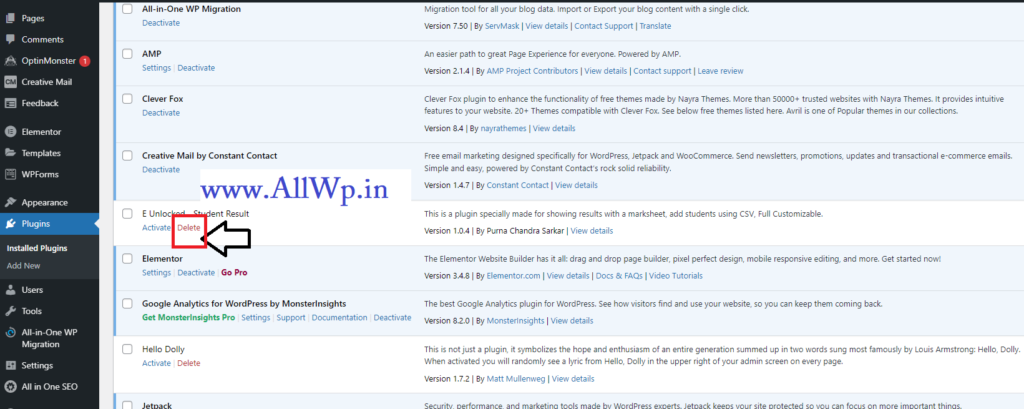
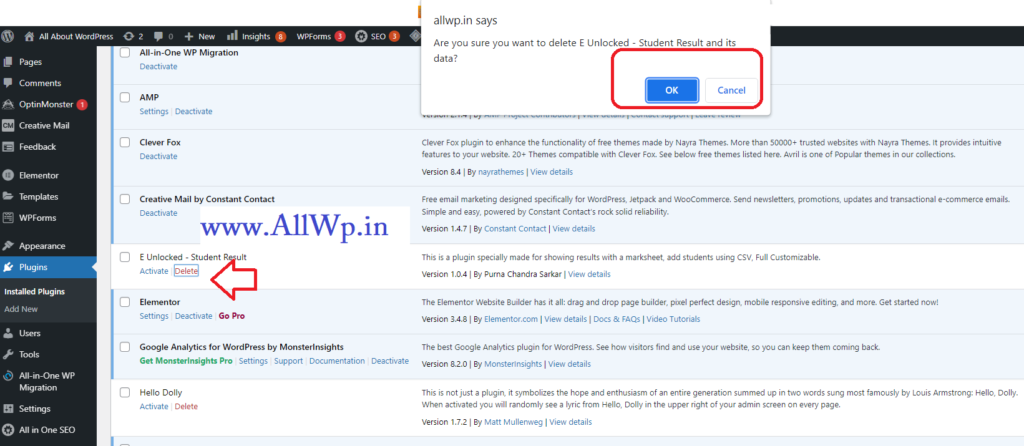
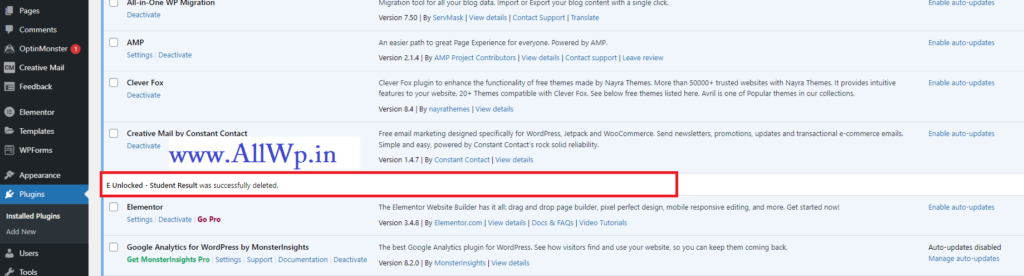
How to Uninstall Plugin in WordPress


Farhan Bajrai is an Entrepreneur, Web Designer as well as a Teacher. He resides in Hyderabad. He is the Founder, Designer, and Director of Bajrai Online Solutions.